A website can’t be accessed without a Domain Name Server (DNS). You might encounter a message such as “DNS server not responding.” This means that the decentralized naming systems responsible for converting hostnames into IP addresses failed to respond.
Download the free trial to find out more. There are many reasons why DNS errors may occur. In most cases, you can resolve them yourself. You might need to restart your computer or change your web browser to resolve the issue.
In this post, I will explain what the “DNS Server Not Responding” message means and what some common causes are. We will now walk you through several ways to fix it on both Windows and macOS.
How To Fix “DNS Server Not Responding” Error in Windows – Solutions:
-
Fix Network Address – Solution No 1:
The “DNS not responding” error may result from an incorrect DNS server address. Here is a step-by-step description of how to correct the DNS server address.
- Click the Start button and type in Run to open the Run application. As an alternative, you can press the Windows logo key and R simultaneously to open the Run box directly.
- Then enter Control and you’ll be taken to the control panel.
- Click Network and Sharing Centre.
- Select the Change adapter settings option at the top left of the Network and Sharing Centre.
- Click the Properties button next to Internet Protocol Version 4.
- The default DNS should be set to Google’s DNS.
The preferred and alternate DNS servers of Google’s DNS are 8.8.8.8 and 8.8.4.4, respectively.
As an alternative to Google’s DNS, you can use OpenDNS: OpenDNS address: 208.67.222.222 and 208.67.220.220 Or you can use any of these third-party DNS servers. Additionally, they are the best alternative DNS servers.

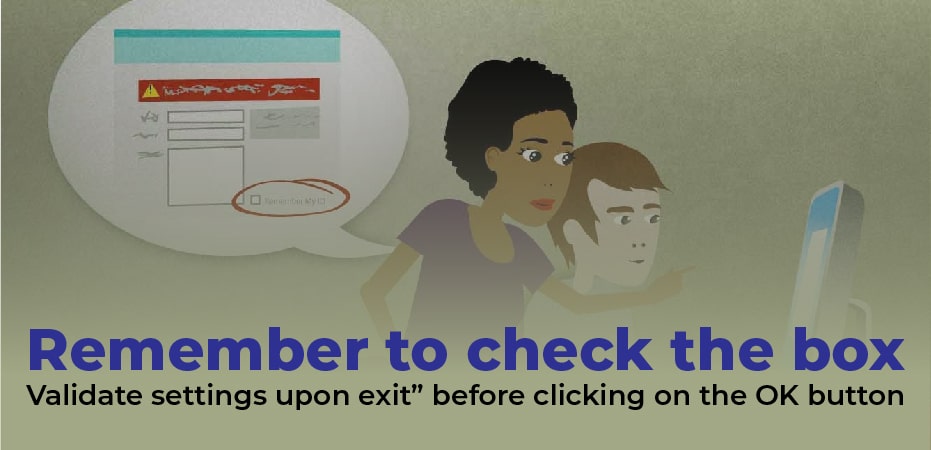
Remember to check the box, “Validate settings upon exit” before clicking on the OK button:
You can also manually fix the network address. This is a straightforward guide on how to do it:
- Open a Command Prompt by pressing Windows + R and type cmd or cmd.exe and then press Enter.
- Press Enter to open a Command Prompt window and type ipconfig /all.
- A physical address can be found in the image above. Don’t forget to write it down!
- Go back to the Network and Sharing Center. Select Properties from the right-click menu.
- Choose the Advanced tab from the Configure button.
- Select the Advanced tab, and enter the physical address you saw in the previous step, without dashes, under Network Address. Click the OK button.
To type BE4CC4DBA9C0, for example, enter your physical address as BE-4C-C4-DB-A9-C0.
- Restart your Windows computer to resolve the problem.
- Reset DNS Settings – Solution No 2:
A second method for fixing a DNS server not responding error on a Windows PC is shown below.
Use this solution when the first method doesn’t work.
To fix this issue, you can also use both methods. The computer will not be harmed in any way.
[full-relatedslug1=” dns_probe_finished_no_internet” slug2=” fix-dns_probe_finished_nxdomain-error”]
- Step No 1: Open a Command Prompt program by pressing Windows + R on your keyboard, type “cmd.exe” and press Enter.
- Step No 2:The following commands should be performed one by one:
- ipconfig /flushdns -> Enter
- ipconfig /registerdns -> Enter
- ipconfig /release -> Enter
- ipconfig /renew -> Enter
- netshwinsock reset -> Enter
Step No 3:You can reboot your computer once you have finished. You should no longer have any problems after doing this.
- Roll Back the Network Driver to Previous Version – Solution No 3:
It is possible that the “DNS do not respond” error is caused by a recent driver update for a network adapter that is not compatible with the operating system you’re using.
- Returning the Network adapter driver to an older version might be an excellent option in such cases. If you want to revert to an older version, follow these steps:
- Select Device Manager from the Power User menu by pressing Windows key + X.
- Click the Expand Network Adapters button.
- Right-click the adapter’s name, then select Properties.
- On the next screen, click Drive.
- Then select Rollback driver. (If this option is grayed out, it means you are unable to roll back your system.)
- Select OK.
- After restarting your computer, the process is complete.
If you are able to access the internet after completing the above steps, open your web browser.


