The components of a solar system include solar panels (modules), a mounting system, and an inverter with computerized control. Solar panels convert sunlight into DC electricity. Afterward, the inverter converts the generated electricity into AC to be used at home. This is done through a computerized controller solar panel installation which ensures the most efficiency. If you want a battery backup system or an off-grid solar system, you need a battery.
What Are Solar Panels?
Solar panels are flat plates that collect energy from the sun. They can be mounted on rooftops, walls, poles, or other surfaces. In some cases, they can also be placed on the ground. You can buy them in different sizes, shapes, and materials. When it comes to selecting solar panels, there are a few things to consider: Size There are many different sizes of solar panels. The size is determined by the size of your roof or wall. For example, if you have a 10 ft by 20 ft (3 m by 6 m) roof, you could install 3m by 6m solar panels. If your roof has a shape that is not square, the best option would be to install solar panels with an angle of 45 degrees. This way, you can get more power from the sun. Shape Solar panels come in a variety of shapes. Some are round, while others are rectangular. The most common are square and rectangular.
How To Install Solar Panels?
Roofing is the most commonplace for solar PV panels to be installed. Roofs typically have the desired specifications for the installation, ensuring maximum sunlight reaches the panels.
Even so, solar panels can also be mounted on the ground if roof installation is not possible or desired. It is just a matter of ensuring that there are no obstructions to the sun. Here is how to install solar panels on a roof:
- Scaffolding Setup
First of all, scaffolding must be erected to ensure safety during the entire installation process.
- Install Solar Panel Mounts
The solar panel mounting system needs to be installed. If maximum sunlight exposure is to be achieved, the entire mounting structure must be tilted at a 45-degree angle. This will support the base of the panels.
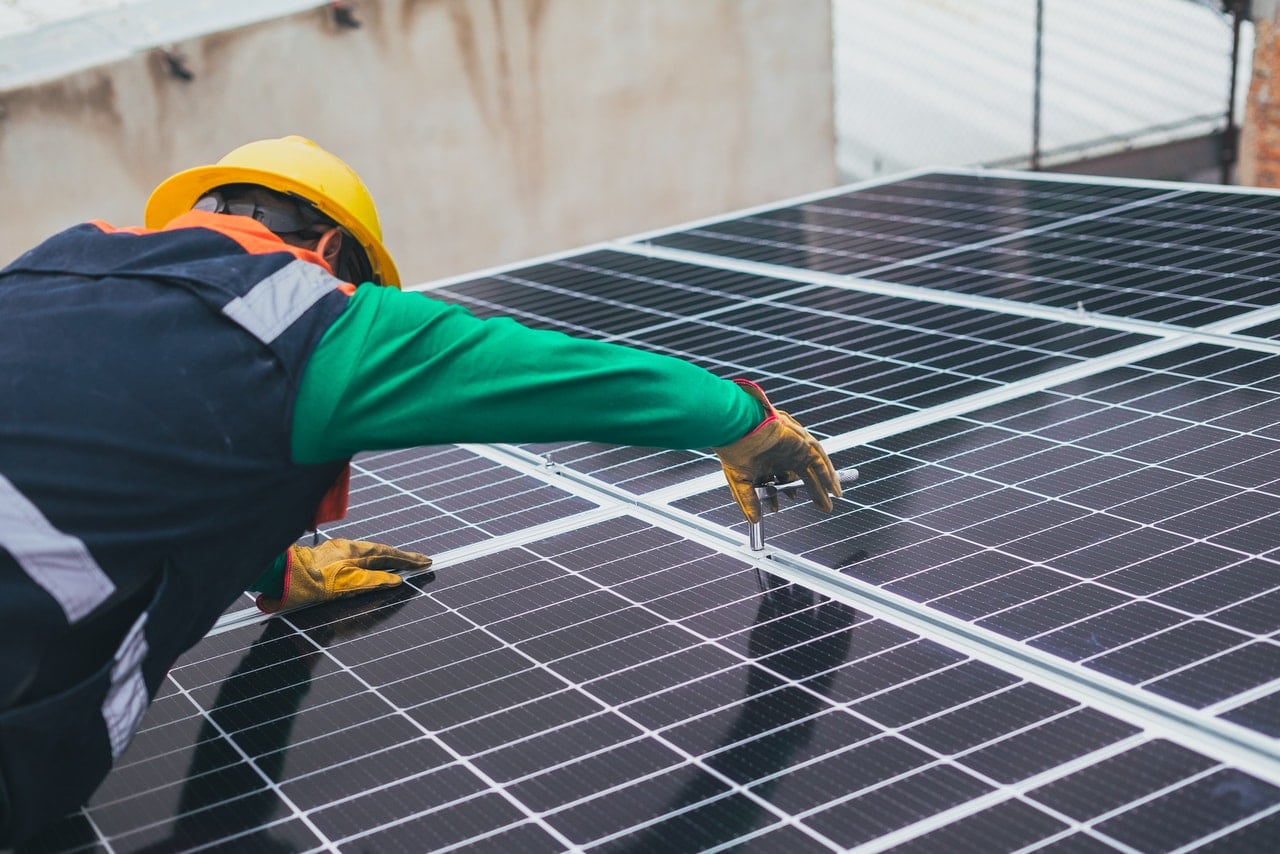
- Install the Solar Panels
The solar panel itself has to be installed on the mounting structure once the mounts have been set up. To ensure stability, tighten all the bolts and nuts.
- Wire the Solar Panels
Once the solar panels are installed, the electrical wiring will be installed. The common connector used in most solar panels is the MC4 connector, as it is suitable for all kinds of solar panels. During the wiring installation, make sure the household’s electricity supply is disconnected.
- Install Solar Inverter
Connecting the solar inverter to the system is the next step. Installed both inside and outside, it’s typically located near the main panel. Inverters perform better when kept cool.
Inverters that are outdoors should be protected from the afternoon sun. When installed indoors, the garage or utility room are usually the best choices, since they are usually cool most of the year and have ventilation.
- Inverter And Battery by Bond Solar
Solar inverters need to be connected to solar batteries following that. You don’t have to worry about the lack of power during cloudy days, thanks to solar battery storage. It can also lower system installation costs.
- Attach The Inverter to The Consumer Unit
A consumer unit generates electricity when the inverter is connected to it. A generation meter should also be connected to monitor the amount of electricity the panels actually produce. You can check your solar system’s performance using your computer or another device. By checking how much electricity you generate at different times, you can decide what time is best to use your washing machine or other utilities.
- Start and Test Solar Panels
After the solar panels have been installed, the power must be turned on and tested. After that, the solar panel installation process is completed.